


How to Make Box Pleats Like a Professional
Quick Guide To How To Make Box Pleats
When you need neat box pleats for a skirt panel or a cushion trim, it all starts with good planning. We’ll touch on fabric measuring, marking fold lines, folding, pressing, and stitching—so you can move confidently through each phase.
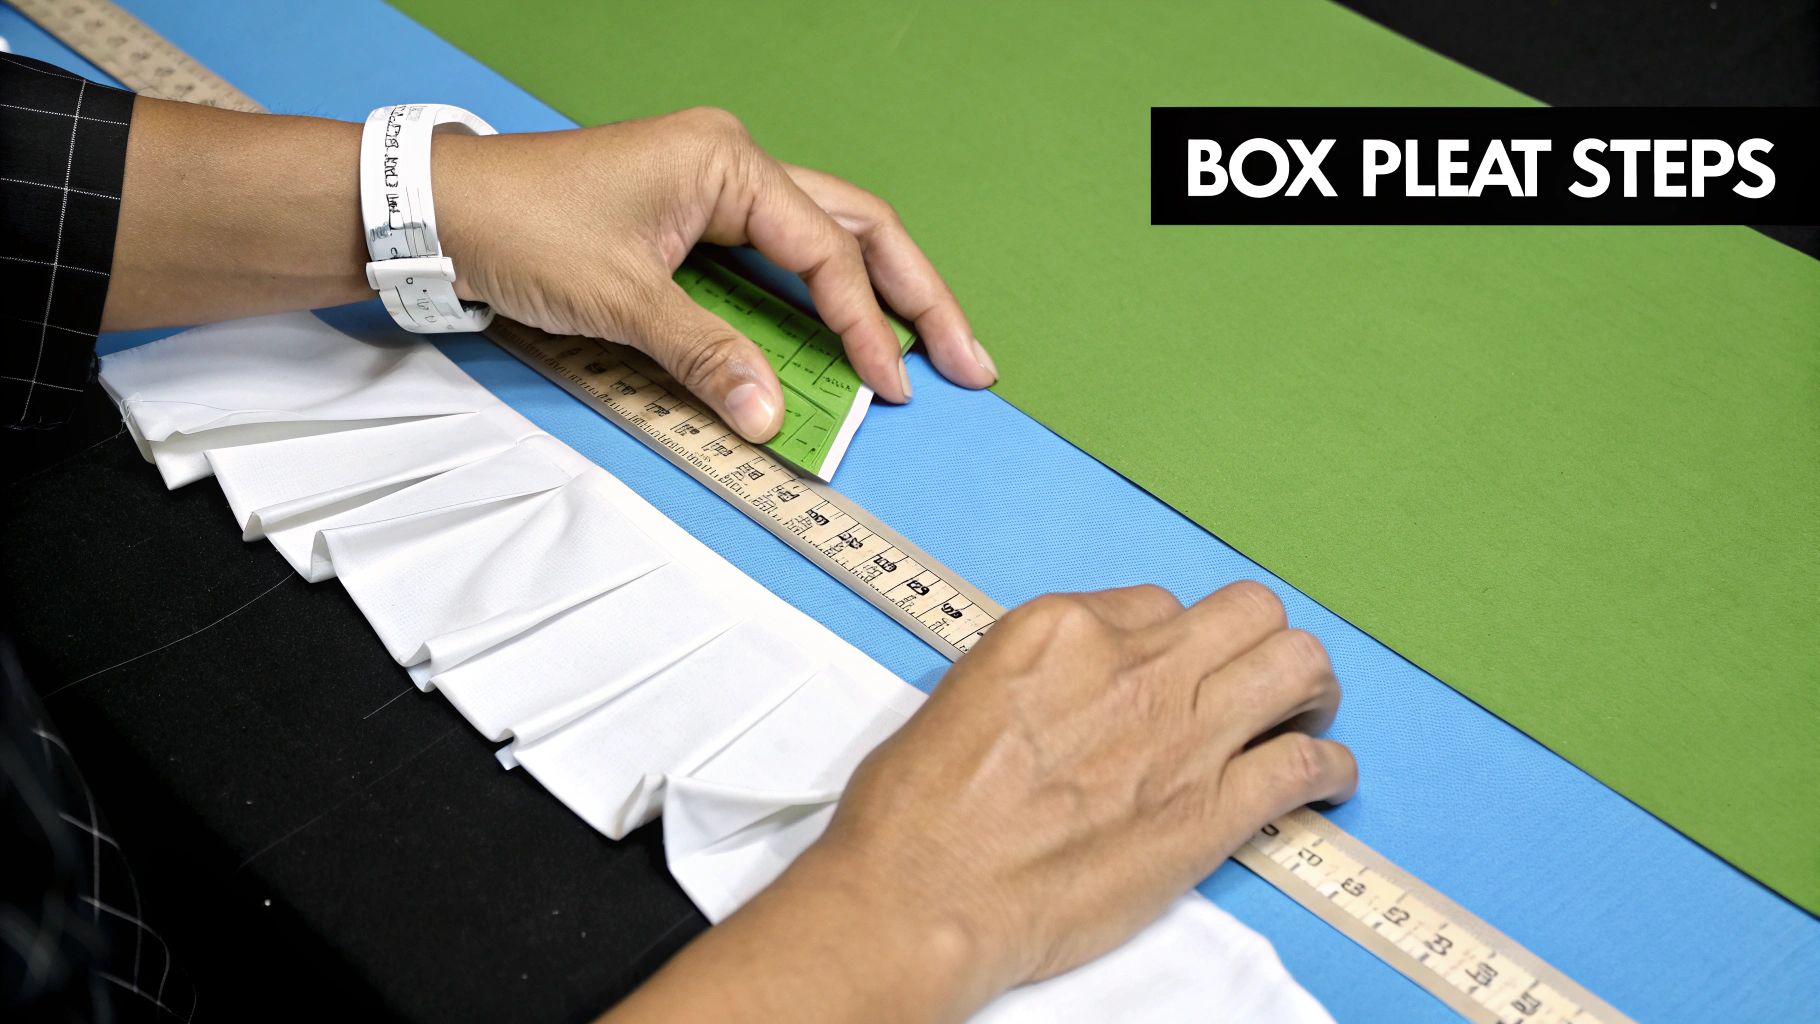
Below is a quick overview of how the process unfolds:
Overview Of Key Pleating Steps
| Stage | Description | Approximate Time |
|---|---|---|
| Measuring | Mark fabric length and add allowances | 5 mins |
| Marking | Draw fold lines with chalk or marker | 5 mins |
| Folding | Pinch and fold for uniform width | 10 mins |
| Pressing | Press each pleat sharply | 5 mins |
| Sewing | Stitch top edge to secure pleats | 10 mins |
Use these benchmarks when laying out your tools to keep things moving smoothly.
Key Tips:
- Double-check spacing to prevent gaps or crowding.
- Press each crease firmly with a hot iron, using a pressing cloth for delicate fabrics.
- Pin every pleat in place before stitching to avoid shifts.
Expect to invest about 35–45 minutes per skirt panel once your workspace is set up. For extra practice drills and detailed tutorials, visit our free sewing lessons.
Understanding Box Pleats History And Uses
Box pleats have long married practicality with sleek, architectural lines. They grant garments extra room to move without sacrificing a tailored appearance.
Historians trace pleating back to 2000–3000 BCE in ancient Egypt, where only royalty wore finely folded linen. Artisans would use heated metal rods or hand-stitching to keep each crease intact.
That meticulous work consumed about 40–60% of a master pleater’s annual hours. Learn more about box pleats history on this topic here.
Evolution Into Modern Fashion
By the 19th century, pleating shifted from bespoke craft to systematic tailoring. Experienced hands could fold 8–12 linear inches per hour, holding each crease to within 1/16 inch for perfect uniformity.
- Folding a full-length skirt often demanded 15–20 hours of careful work.
- Consistent folds produced a clean drape and sharp silhouette.
- Traditional methods relied on either manual pressing or heated tools.
“Precision in pleating defined both status and style for centuries,” notes a textile historian.
By the 1950s, box pleats enjoyed a revival in women’s daywear and evening gowns. Designers played with volume and shape, giving pleats a fresh spin in everyday wardrobes. To explore those vintage inspirations, check out iconic 1950s fashion styles, where box pleats were prevalent.
Today, you’ll spot box pleats in a wide variety of garments:
- School uniforms that stay crisp from morning assembly to dismissal
- Military dress uniforms, representing roughly 85% of pleated attire globally
- High-street and couture collections embracing structured details
| Era | Main Use | Key Metric |
|---|---|---|
| Ancient Egypt | Royal linen garments | 40–60% annual workload |
| 19th Century | Tailored wear | 8–12 in/hr speed |
| Modern Day | Uniforms, couture, ready-to-wear | Consistent folds |
History shows us why precise fold widths, sharp pressing, and thoughtful fabric choice remain vital. Embracing these time-tested techniques will elevate your own pleated creations.
Important Tips When You Make Box Pleats
Crisp, long-lasting pleats start with careful preparation and steady technique.
- Double-check spacing before marking each fold.
- Slip a pressing cloth between the iron and delicate fibers.
- Pin every pleat securely to prevent shifting.
Proper preparation is half the work when it comes to lasting pleats.
Marry accurate marking, patient folding, and correct pressing, and your homemade box pleats will rival professional results. Start practicing these tips today and enjoy a noticeable boost in fit and finish.
Happy pleating adventures ahead.
Selecting Pleating Techniques And Tools
Deciding how to fold your fabric has a big impact on both speed and the final look. Hand-pleating lets you shape each crease exactly, but it can chew up hours if you’re working on a full skirt panel. On the flip side, running panels through a pleating machine or using a heat press speeds things up and keeps every fold uniform.
Key Tools For Box Pleats
- Clear Ruler for marking precise distances
- Tailor’s Chalk to sketch each fold line
- Pleating Gauge when you need perfectly even spacing
- Pressing Hammer to tighten creases on thick fabrics
- Heat Press for setting pleats quickly and permanently
A basic kit like this often stays under $50, while a commercial pleating setup can push your budget into the thousands. In my small studio, I’ll hand-pleat a few dozen scarves in a day, using clips to hold slippery silks without prick marks.
Below is a look at an industrial pleating machine in action.
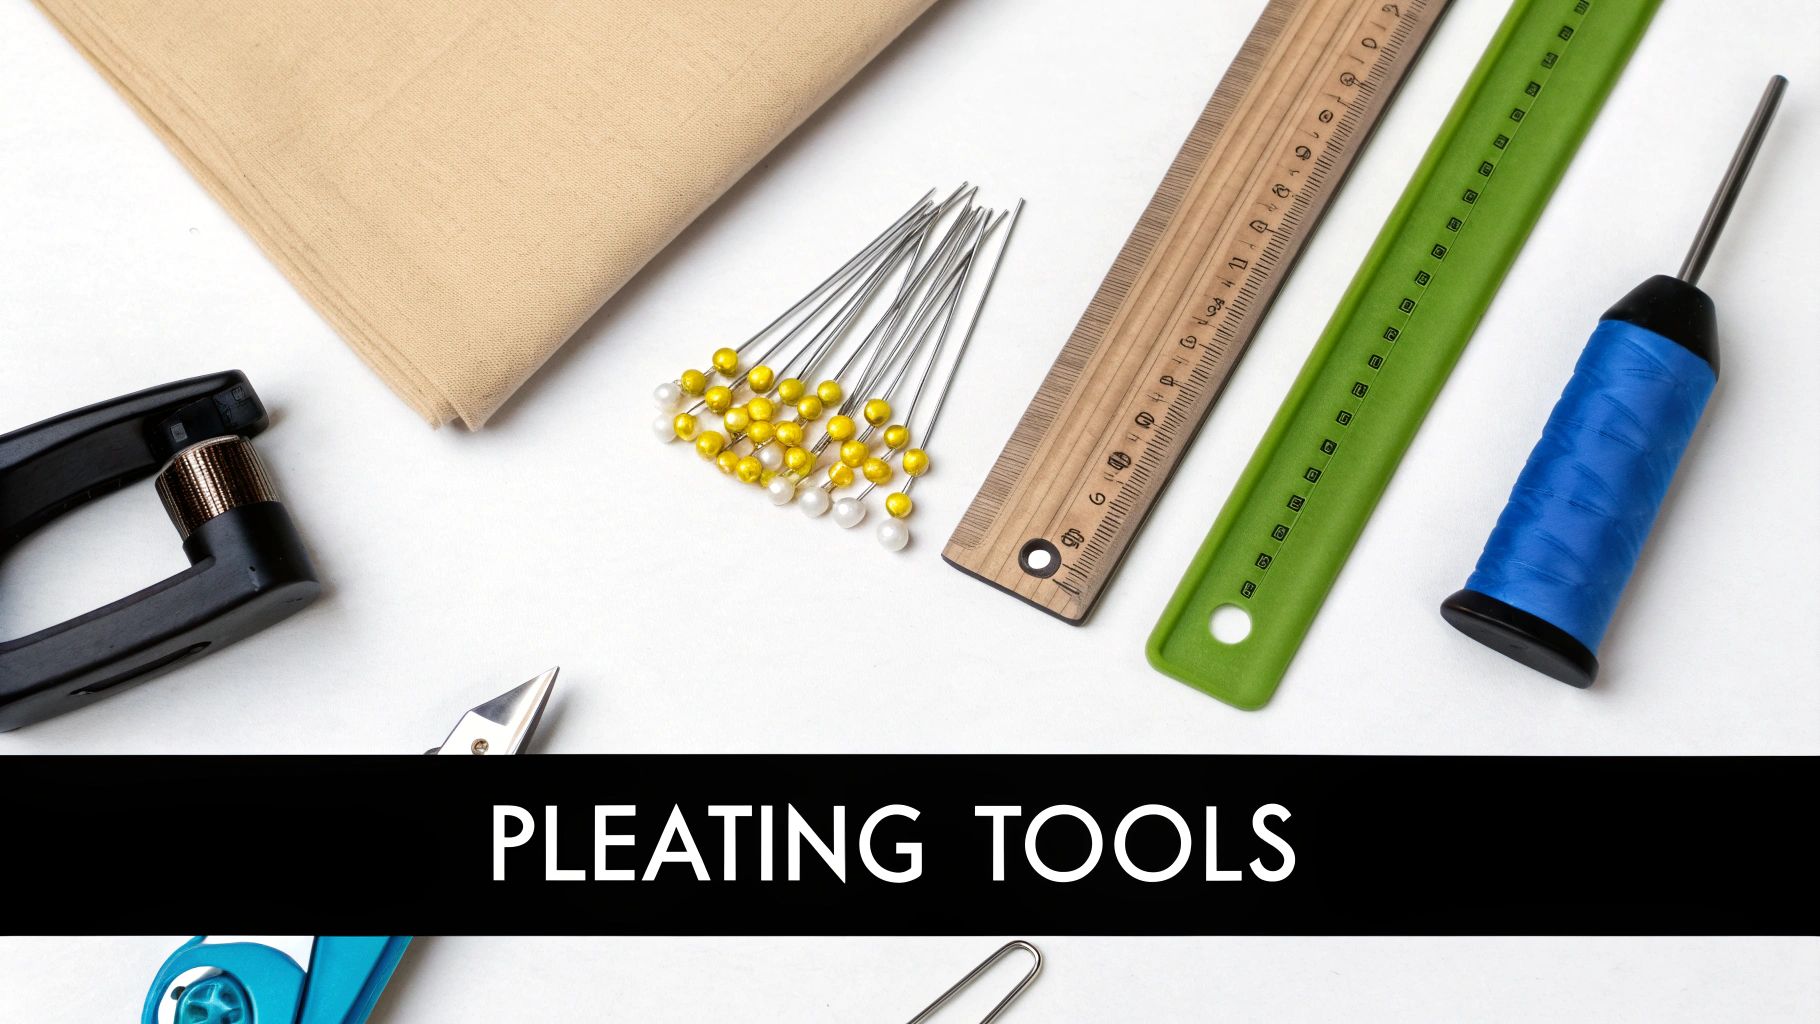
You’ll notice an automated feed that guides fabric through evenly spaced folds, cutting labor time per garment dramatically.
Comparison Of Hand Pleating Vs Machine Pleating
Quick side-by-side numbers can help you decide which route makes sense for your project.
| Method | Speed (inches/hour) | Precision (fold accuracy) | Daily Output | Approx Cost per Garment |
|---|---|---|---|---|
| Hand-pleating | 8–12 | 1/16 inch | 2–4 | $45–60 |
| Machine-pleating | 100–150 | 1/32 inch | 500–800 | $8–12 |
Over the last century, industrial techniques have pushed output efficiency by more than 300%. Designers like Mariano Fortuny and Issey Miyake pioneered heat-setting silk pleats that still hold up beautifully today. You can explore their methods in depth on Pleated Fashion History at PleatsLog.
Whether you’re in a home workshop or a factory floor, these figures highlight the trade-offs between hands-on control and high-volume speed.
Real makers often replace pins with clips to protect delicate fabrics. Check out our Geasy Clips Standard Blue for even spacing and no snagging.
Precision Matters When Every Fold Must Align Within 1/32 Inch.
- Always press and stabilize your fabric edges before marking.
- Make clear, consistent chalk lines before you fold.
- Use steam or dry heat to set each pleat firmly.
With the right tools and a bit of practice, that crisp box-pleat finish is entirely within reach.
Preparing Fabric and Measuring for Precise Pleats
A crisp box pleat starts long before the iron hits the material. I always reach for mid-weight fabrics like cotton or a cotton-polyester blend because they hold a sharp fold without flopping. Over the years, linen has also earned its place in my toolkit—just remember it can shrink by 5%–10% if you skip prewashing.
Before you cut a single yard, prewash everything. A quick soak reveals hidden shrinkage, so I add an extra 10% to my yardage. This small buffer saves a mountain of frustration and yard waste.
Here’s a quick comparison to narrow your choices:
| Fabric Type | Weight | Pros | Shrinkage |
|---|---|---|---|
| Mid-weight cotton | 6–8 oz/yd | Holds crisp pleats, easy press | Up to 5% |
| Polyester Blend | Medium | Resilient, keeps edges sharp | Minimal |
| Linen | Medium | Sharp creases, breathable | Up to 5% |
To calculate your yardage, follow these bullet-proof rules:
- Take your finished panel width.
- Multiply by 3 (for pleat folds + base).
- Add 1" per fold to cover seam allowances.
- Factor in a final 10% for shrinkage.
Marking Fold Lines
Once yardage is settled, it’s time for precision. I draw fine chalk or pencil lines, working in long, unbroken strokes. Then I pin layers snugly or use a light mist of temporary spray adhesive to prevent any shifting.
For absolute accuracy, combine these marks with accurate measurement techniques. Think of marking pleats like tailoring a suit—every millimeter matters.
Precise marking can halve your sewing time and drastically cut back on fabric damage.
Stabilizing Slippery Fabrics
Silks, chiffons and sheers love to wander under your pins. Here’s my go-to method:
- Slide fine-tooth pins just inside the fold line.
- Spray a gentle mist of water-based adhesive.
- Use a non-slip guide for straight, repeatable lines.
For reliable marking, nothing beats the Quilter’s Select 2.5 x 18-inch Non-Slip Ruler. Its grip transforms any slippery project into a breeze.
Before folding, give your chalk or marker a moment to dry—this little pause prevents smudges and keeps every crease in place.
Calculating Seam Allowance
Seams shift your pleat edges inward, so I always tack on 0.5" to each side of a panel before marking. On a 20" wide panel, that extra half-inch per side adds 1" total—meaning you actually cut 21". This simple tweak ensures your pleats land perfectly once sewn.
Forming Pressing And Securing Box Pleats
When your fold lines are in place, bring the outer edges together so the pleat meets at the centre. Give each fold a gentle pinch with your fingers before you reach for pins or clips.
Secure the layers at the top edge, then keep the fabric taut as you move everything onto the ironing board.
This quick overview covers preparing the cloth, taking precise measurements, and marking guidelines.
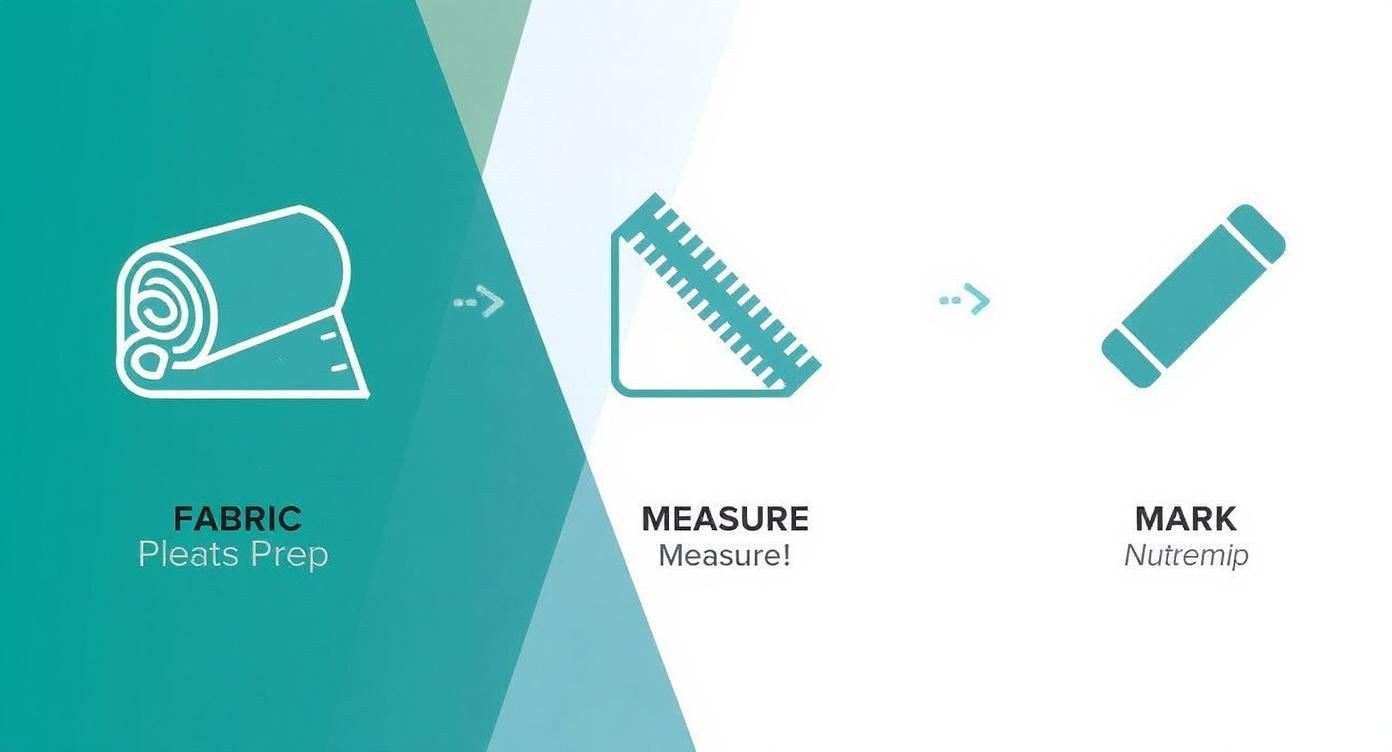
The infographic lays out three steps: rolling out fabric, measuring with a ruler, and marking lines with tailor’s chalk. Every bit of prep trims pleat errors by 60%.
Choosing Pressing Methods
Natural fibers like cotton or linen thrive under steam—you’ll see crisp creases without soaking the fabric. Synthetics prefer a dry-heat approach to avoid water spots or melting edges.
Keep these tools on hand:
- Clapper for stiff folds, applied while the fabric is warm
- Tailor’s Ham to shape curved seams and tapered panels
- Oliso M3 Pro Mini Iron with Trivet for quick touch-ups (Check out the Oliso Mini Iron in Aqua)
Securing Pleat Foundations
Before final stitching, use temporary basting or stay-stitching to lock everything in place. A few short machine tacks go much faster than long hand basting.
For extra strength:
- Hand-baste or machine-baste every 1–2 inches along the pleat line
- Stay-stitch with a narrow zigzag to prevent fraying
- Fuse a 1" strip of lightweight interfacing right at the pleat head
Precise pressing and secure basting make the difference between flat folds and floppy pleats.
Professional Pressing Tips
Test your iron’s heat on a scrap of fabric first to avoid accidental scorch marks. Let each pleat cool completely under a wooden clapper before moving on.
Follow these guidelines for polished results:
- Press pleat heads for 3–5 seconds at each fold
- Use steam at 40 PSI only on natural fibers
- Always place a cotton press cloth between the iron and patterned materials
Finish with a quick cold-press cycle to set every crease for that crisp, professional look.
Troubleshooting Common Pleating Challenges
Pleats that drift off-center or puff up are surprisingly common, even for seasoned sewists. One minute everything aligns, the next project shows unwanted puckers or slipping layers.
A quick touch-up with light starch and a gentle re-press often sorts out these hiccups. Here’s a shortlist of fixes I reach for time and again.
Quick Fix List
- Test machine tension on fabric scraps before committing to your main piece.
- Re-mark faded chalk lines to keep folds perfectly even.
- Pin or clip layers every 1–2 inches so nothing shifts mid-sew.
- Use a clapper or press cloth to lock in sharp creases.
Occasionally pleats relax after the first wash. A moderate-heat iron and a press cloth will bring that crisp fold right back.
"Fine-tune tension early to save seam ripping later."
Box pleats carry a rich global backstory. By the 1950s, they featured in 60–70% of UK, US and Japanese secondary school uniforms. Discover Pleats History At Cahaya Studios
Fabric Shifting Solutions
Slippery fabrics like silk or fine synthetics can run away from you. A few simple tactics keep everything in line:
- Switch to a non-slip presser foot for better feed control.
- Lightly mist layers with water-soluble adhesive spray.
- Secure edges with fine-tooth pins before stitching.
You might be interested in our Dual Seam Fix Thread Remover tool for quick seam corrections: Dual Seam Fix Thread Remover
FAQ
Every sewist’s dream? Perfectly crisp box pleats. Mid-weight cotton, cotton blends and light suiting fabrics are your best friends here. Stay away from heavy stretch knits or loose weaves—they’ll sag and blur your sharp lines.
When I’m making pleats for a school uniform or a tailored skirt, I always reach for:
- Mid-Weight Cotton: It presses like a charm and keeps that fold intact.
- Polyester Blends: Wrinkle-resistant and quick-drying, great for busy wardrobes.
- Linen: Gorgeous drape—just remember it might shrink if you skip prewashing.
Calculating Yardage
Getting your yardage right is half the battle. As a rule of thumb, plan on 3 times your finished panel width; that covers two folds plus the base.
On top of that, tack on 10% extra to handle shrinkage, pattern matching and the occasional oops moment.
- Measure your garment’s final width.
- Multiply by 3 to cover pleat fabric.
- Add 10% for safety net.
Using Home Machines
Most domestic machines shine with a walking foot when it’s pleat time. A quick tension check, paired with temporary basting, keeps layers from slipping.
Basting pleats before stitching can cut down on distortion and save you a headache later.
Here’s my go-to approach:
- Swap in a walking foot and test on scrap fabric.
- Mark pleat lines clearly with chalk or washable pen.
- Baste each fold loosely before locking in with your final stitch.
Preserving Pleats
A little finishing magic goes a long way. Light spray starch and a clapper do wonders to keep those folds razor-sharp.
- Spray starch evenly over each pleat.
- Press each fold for 3–5 seconds, then lay the clapper on top.
- Let everything cool completely under weight.
- Give your pleats a quick once-over before heading out; it’s the difference between crisp and crumpled.
For quality materials, expert tips and even hands-on sewing classes, visit Famcut.com.